フロントから/amplify/data/resourceのSchemaをimportした際のエラー File '/xxx/amplify/data/resource.ts' is not listed within the file list of project '/xxx/tsconfig.app.json'. Projects must list all files or use an 'include' pattern.
→ tsconfig.app.jsonのincludeに"amplify/**/*.ts"を追加する
画面表示時のブラウザでのコンソールエラー Uncaught (in promise) Error: Client could not be generated.
→ `Amplify.configure()した後にcreateAppする
フロントからのリクエストは、Fetch dataを参考に実装する。
なお、Vueで<script setup lang="ts">としている場合は、catch (error: any)とする必要がある。: any をつけないと、errorの中身を参照した際に'error' is of type 'unknown'.となる。
CloudWatch > Log groups > Log streams タブから該当の Log stream を選択
Last event time を頼りに選択する。
エラー
$ npx ampx sandboxを実行した際のエラーと対応をまとめる。
The given region has not been bootstrapped
% npx ampx sandbox
The given region has not been bootstrapped. Sign in to console as a Root user or Admin to complete the bootstrap process, then restart the sandbox.
このときブラウザが開かれるが、以下の表示
CDKToolkit is already setup successfully in {region} Region. You may now close this browser window.
npx ampx sandboxを再実行しても同様のエラー
対応
IAM > Users からユーザを選択
Permissions policiesにAdministratorAccessを追加
cdk bootstrap aws://{account-id}/{region}を実行
再度npx ampx sandboxを実行
xxx is not authorized to perform
bootstrap時、権限が足りないと以下のようなエラーとなる。
11:47:57 PM | CREATE_FAILED        | AWS::ECR::Repository    | ContainerAssetsRepository
Resource handler returned message: "User: arn:aws:iam::{account-id}:user/{user-name} is not authorized to perform: ecr:CreateRepository on resource: (以下略)

11:47:57 PM | CREATE_FAILED        | AWS::SSM::Parameter     | CdkBootstrapVersion
Resource handler returned message: "User: arn:aws:iam::{account-id}:user/{user-name} is not authorized to perform: ssm:DeleteParameter on resource: (以下略)

11:48:01 PM | DELETE_FAILED        | AWS::SSM::Parameter     | CdkBootstrapVersion
Resource handler returned message: "User: arn:aws:iam::{account-id}:user/{user-name} is not authorized to perform: ssm:DeleteParameter on resource: (以下略)
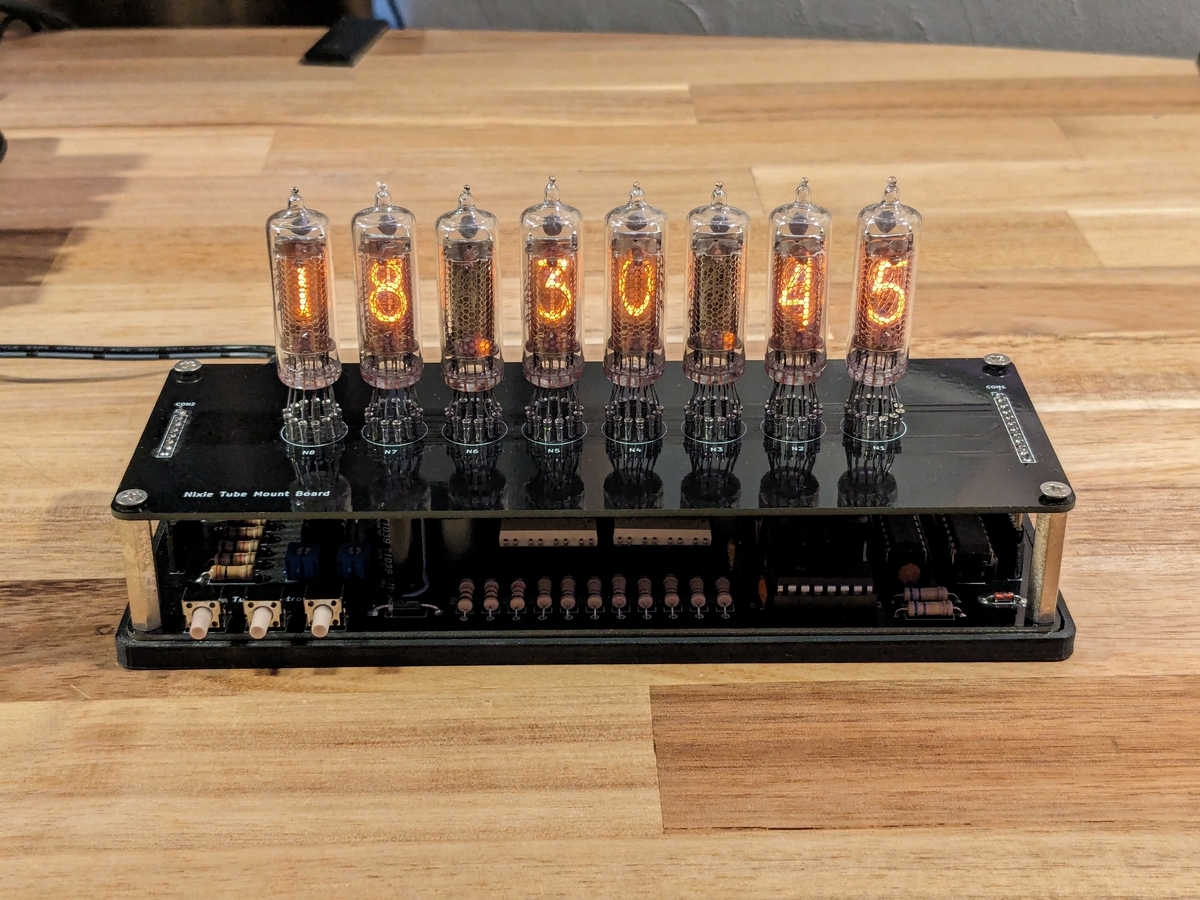
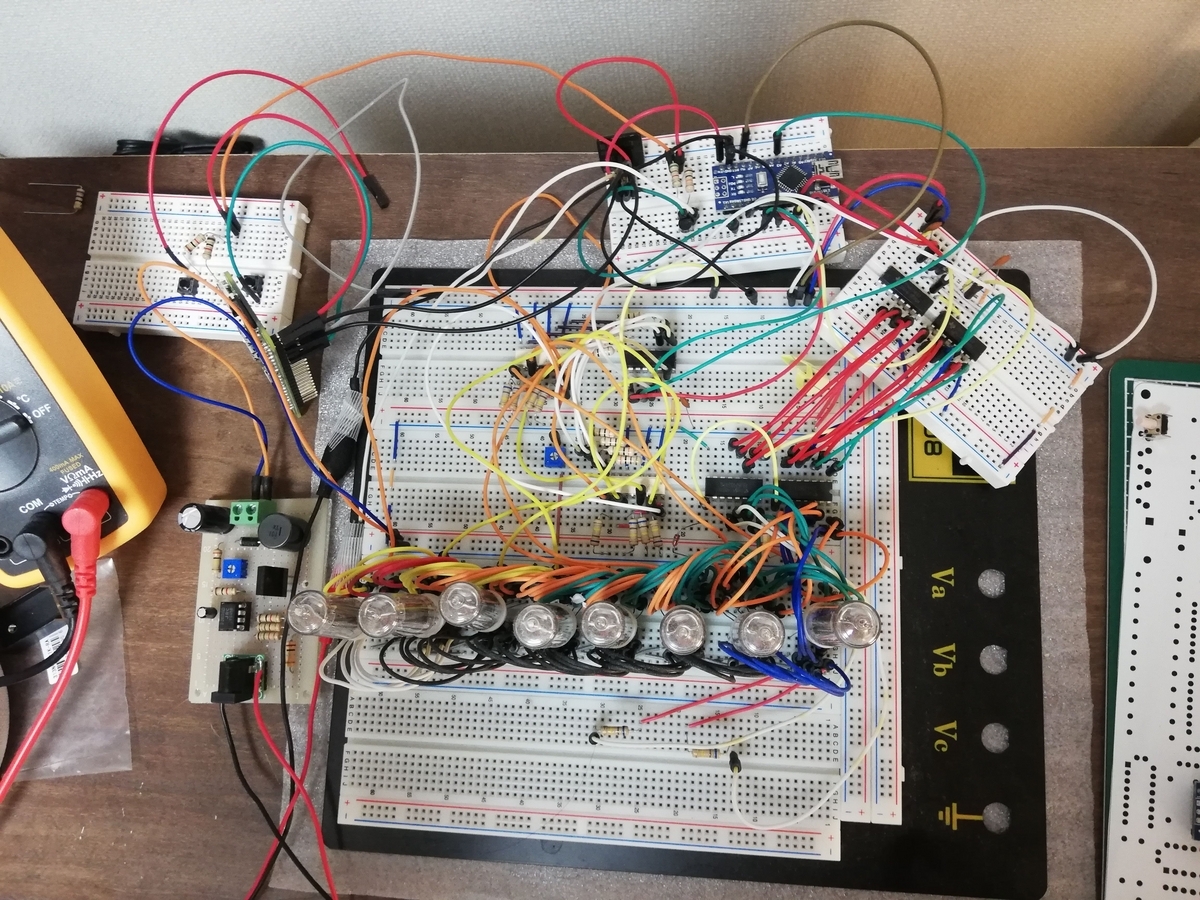
ニキシー管時計を製作した。2021年頃に完成させたものなので今更ではあるが、製作時のメモから主要な内容を記事にまとめておく。
複数の作例や、そこで使用されていた各ICのデータシート、アプリケーションノート等を参考に回路を設計した。ダイナミック点灯方式を採用し、ニキシー管の制御にはアノード・カソードともにシフトレジスタを用いることでArduino Nanoのピン数に収まるようにした。時刻の取得にはRTCモジュールではなく、その他の数字を表示することも考慮してRaspberry Pi Zero Wを使用した。
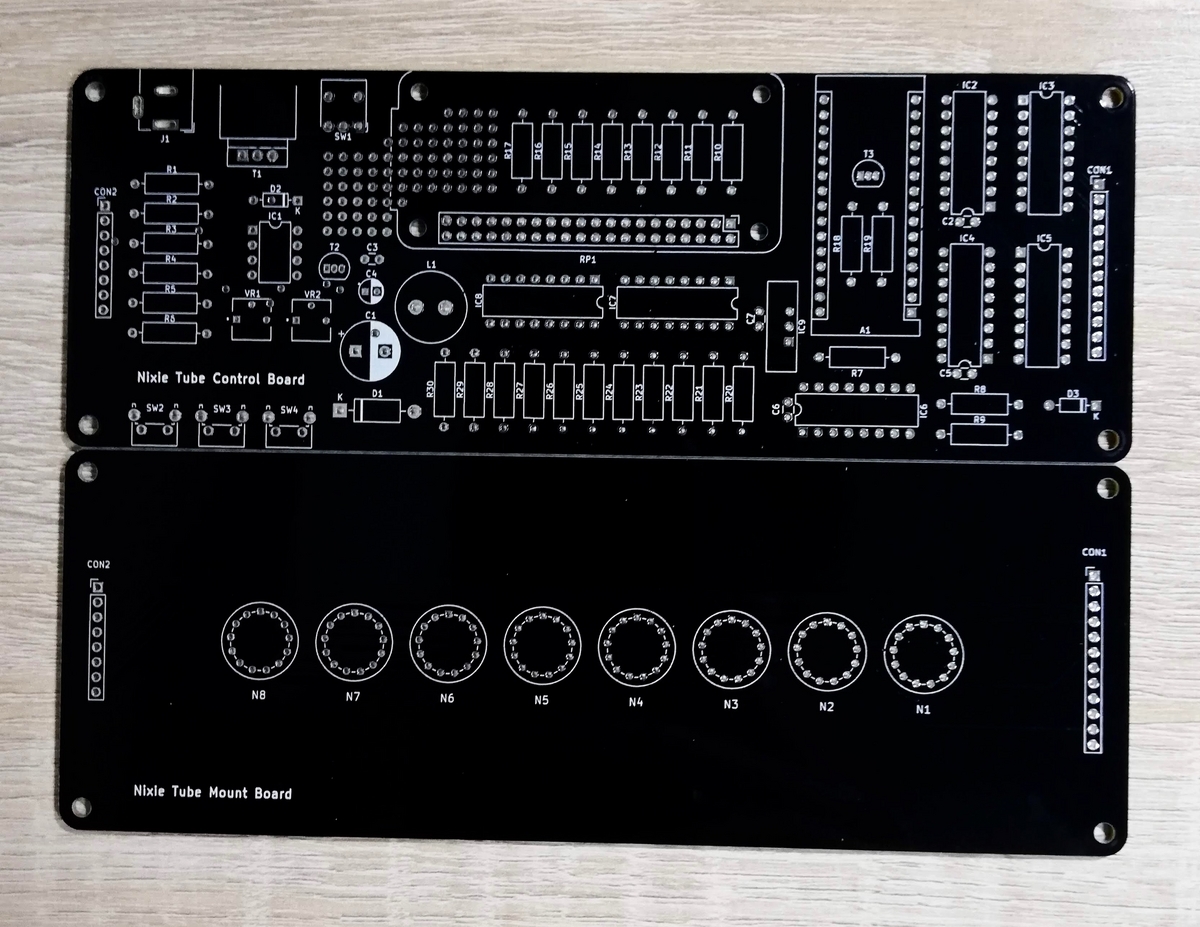
回路設計が完了した後はプリント基板の設計をした。制御用の回路は部品点数が多くなったため、自動配線ツールを利用した。PCBWayで注文したプリント基板に各部品を実装し、最後に基板底面のサイズに合わせたケースを3Dプリンタで出力した。
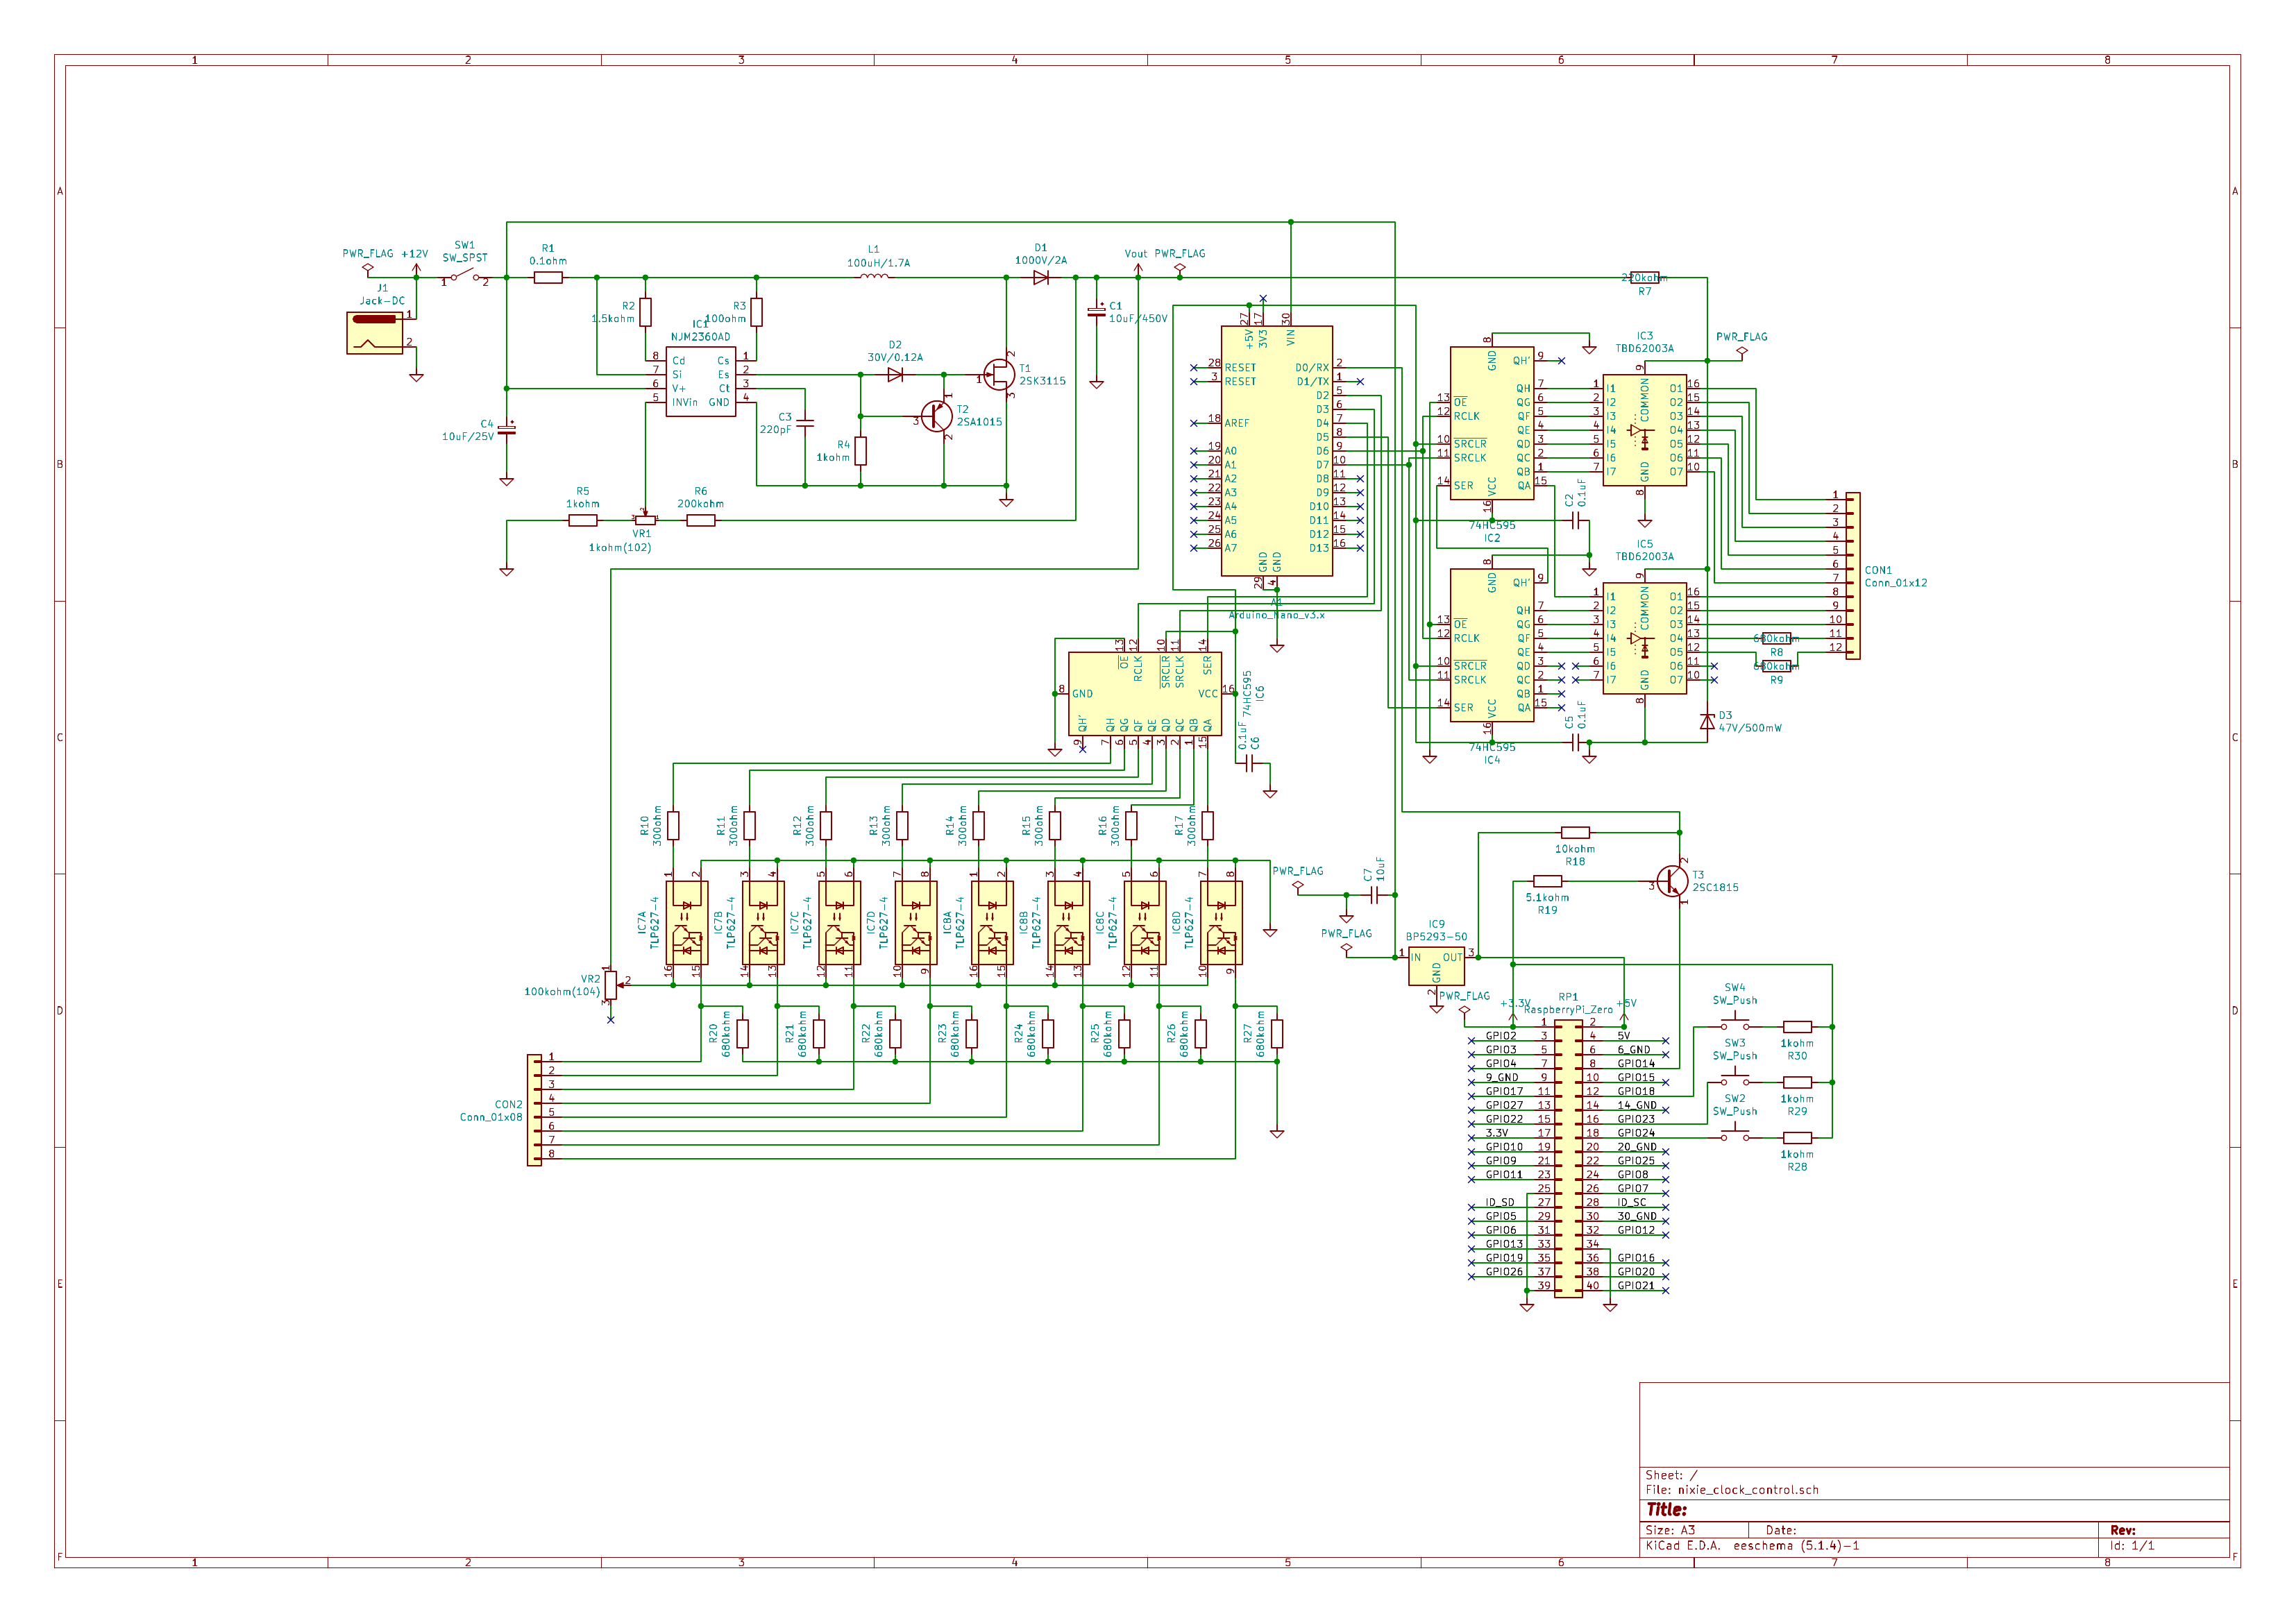
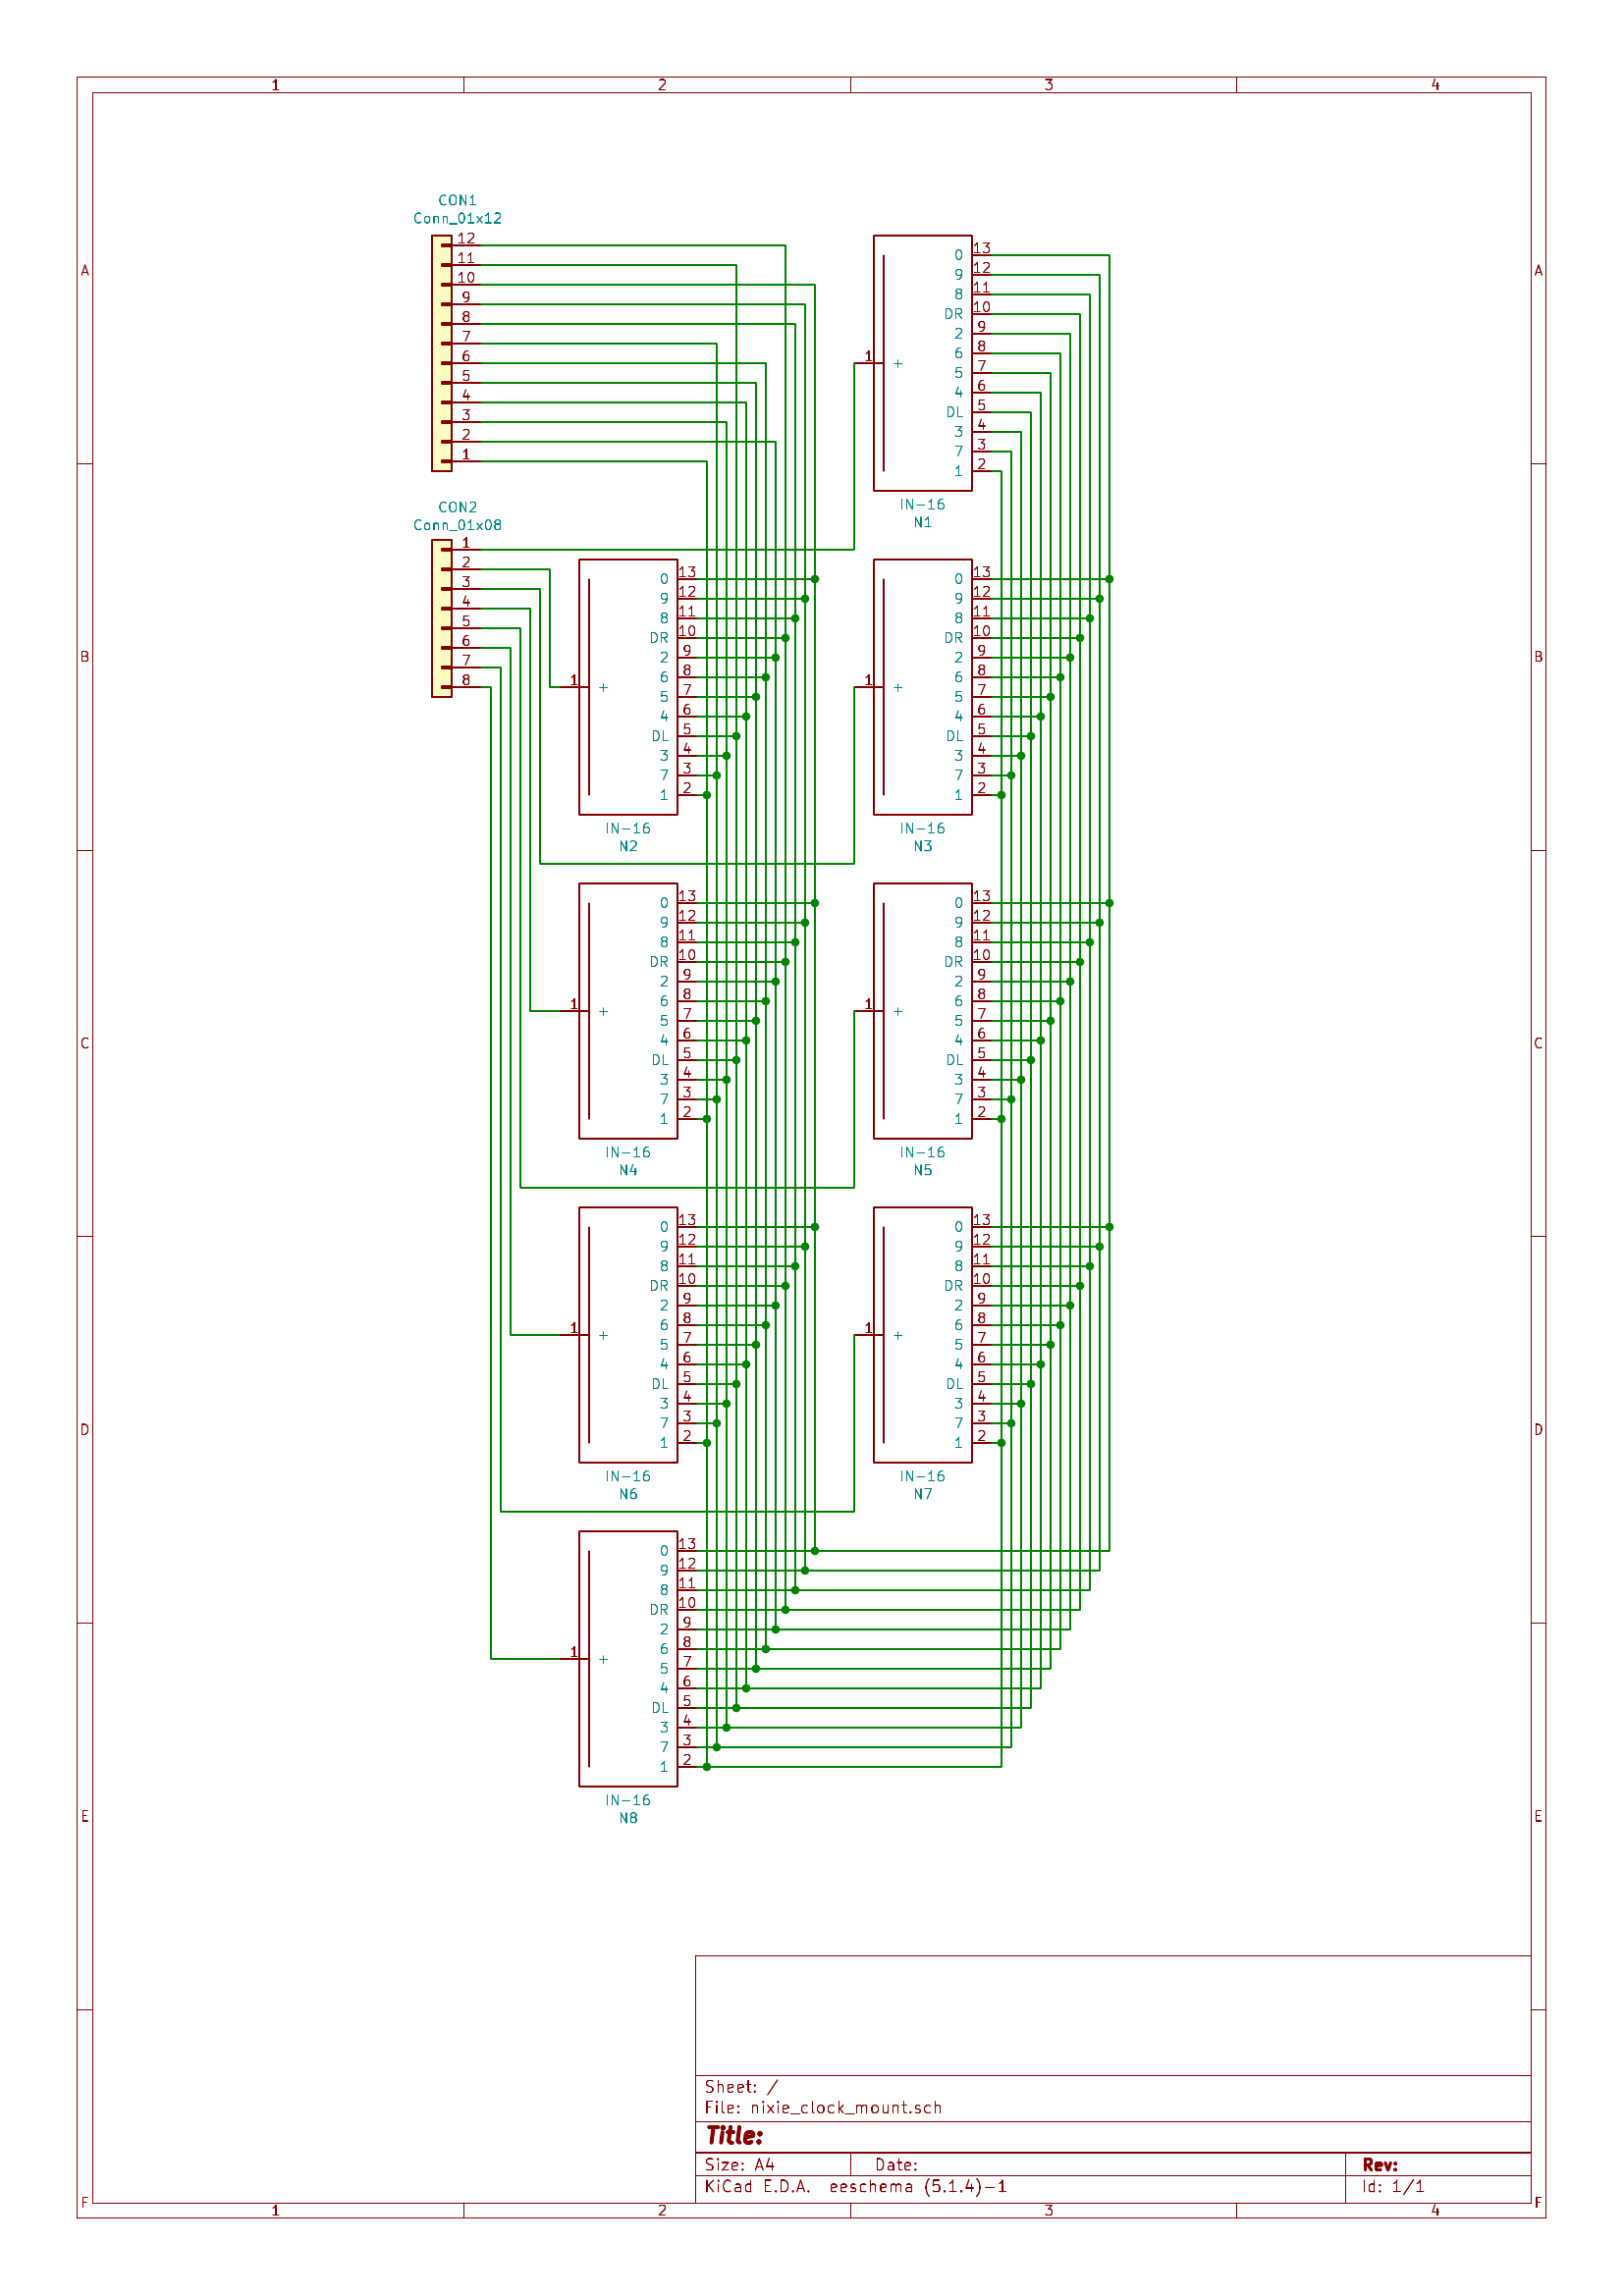
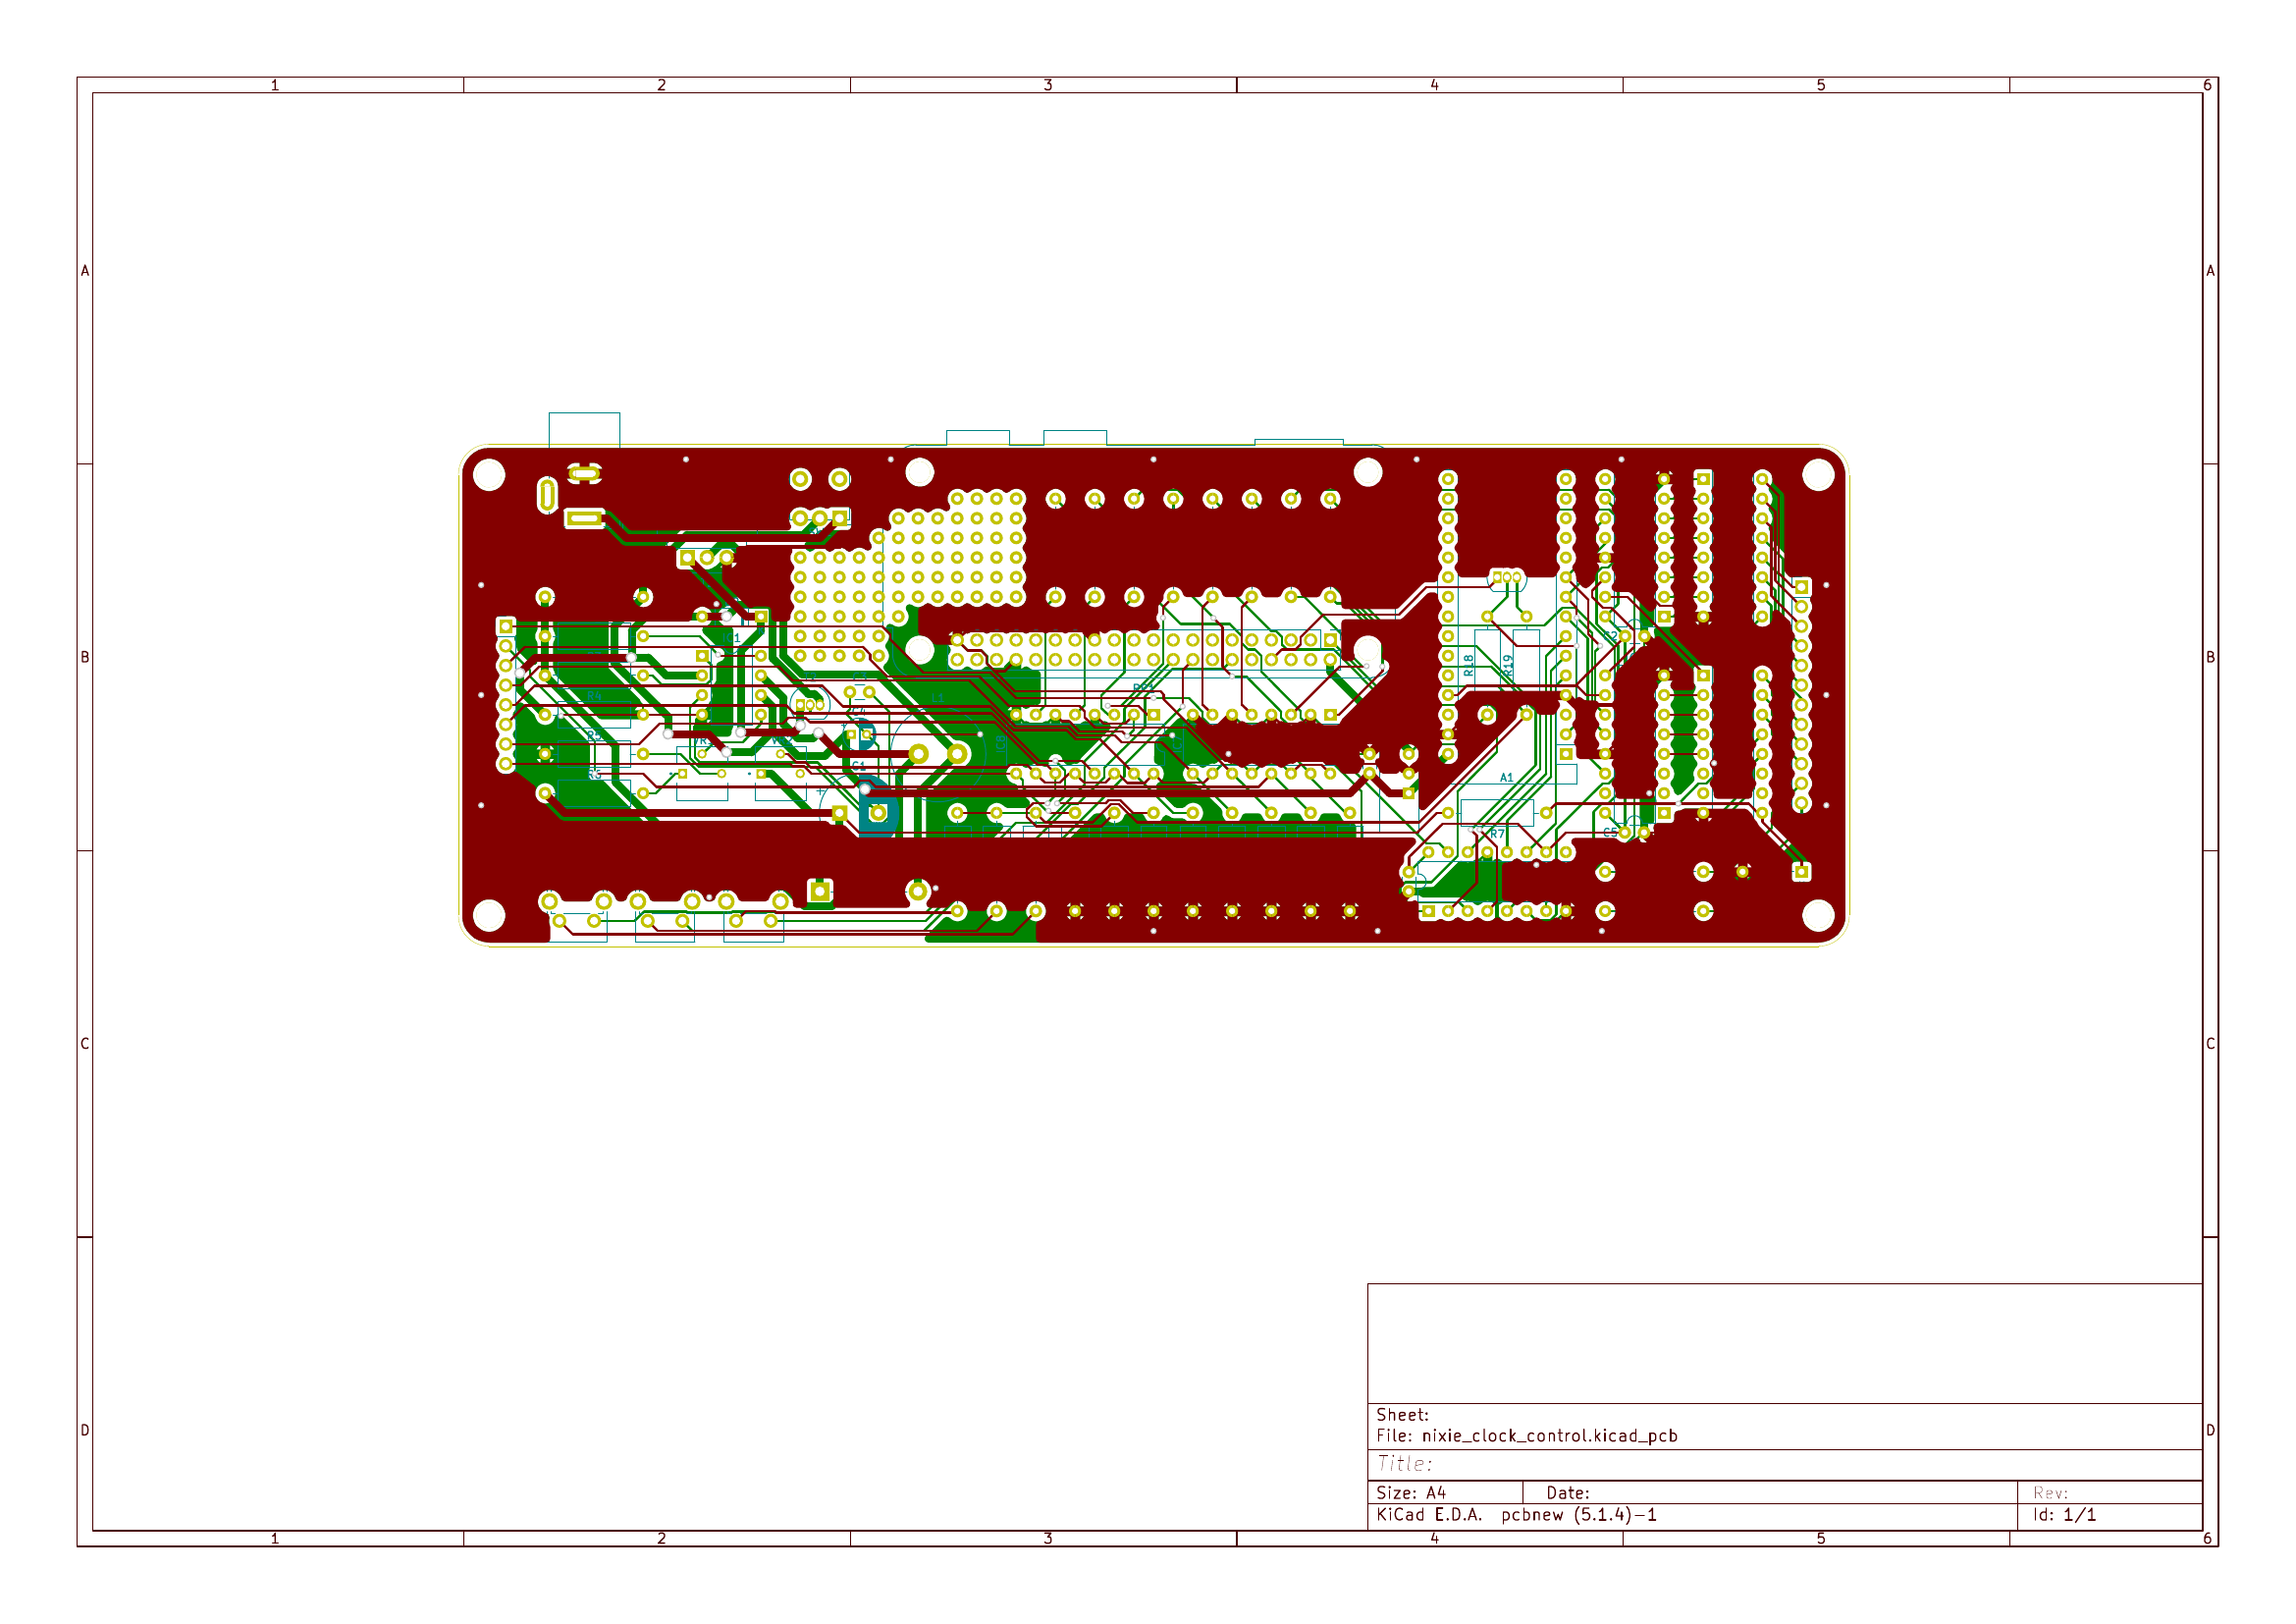
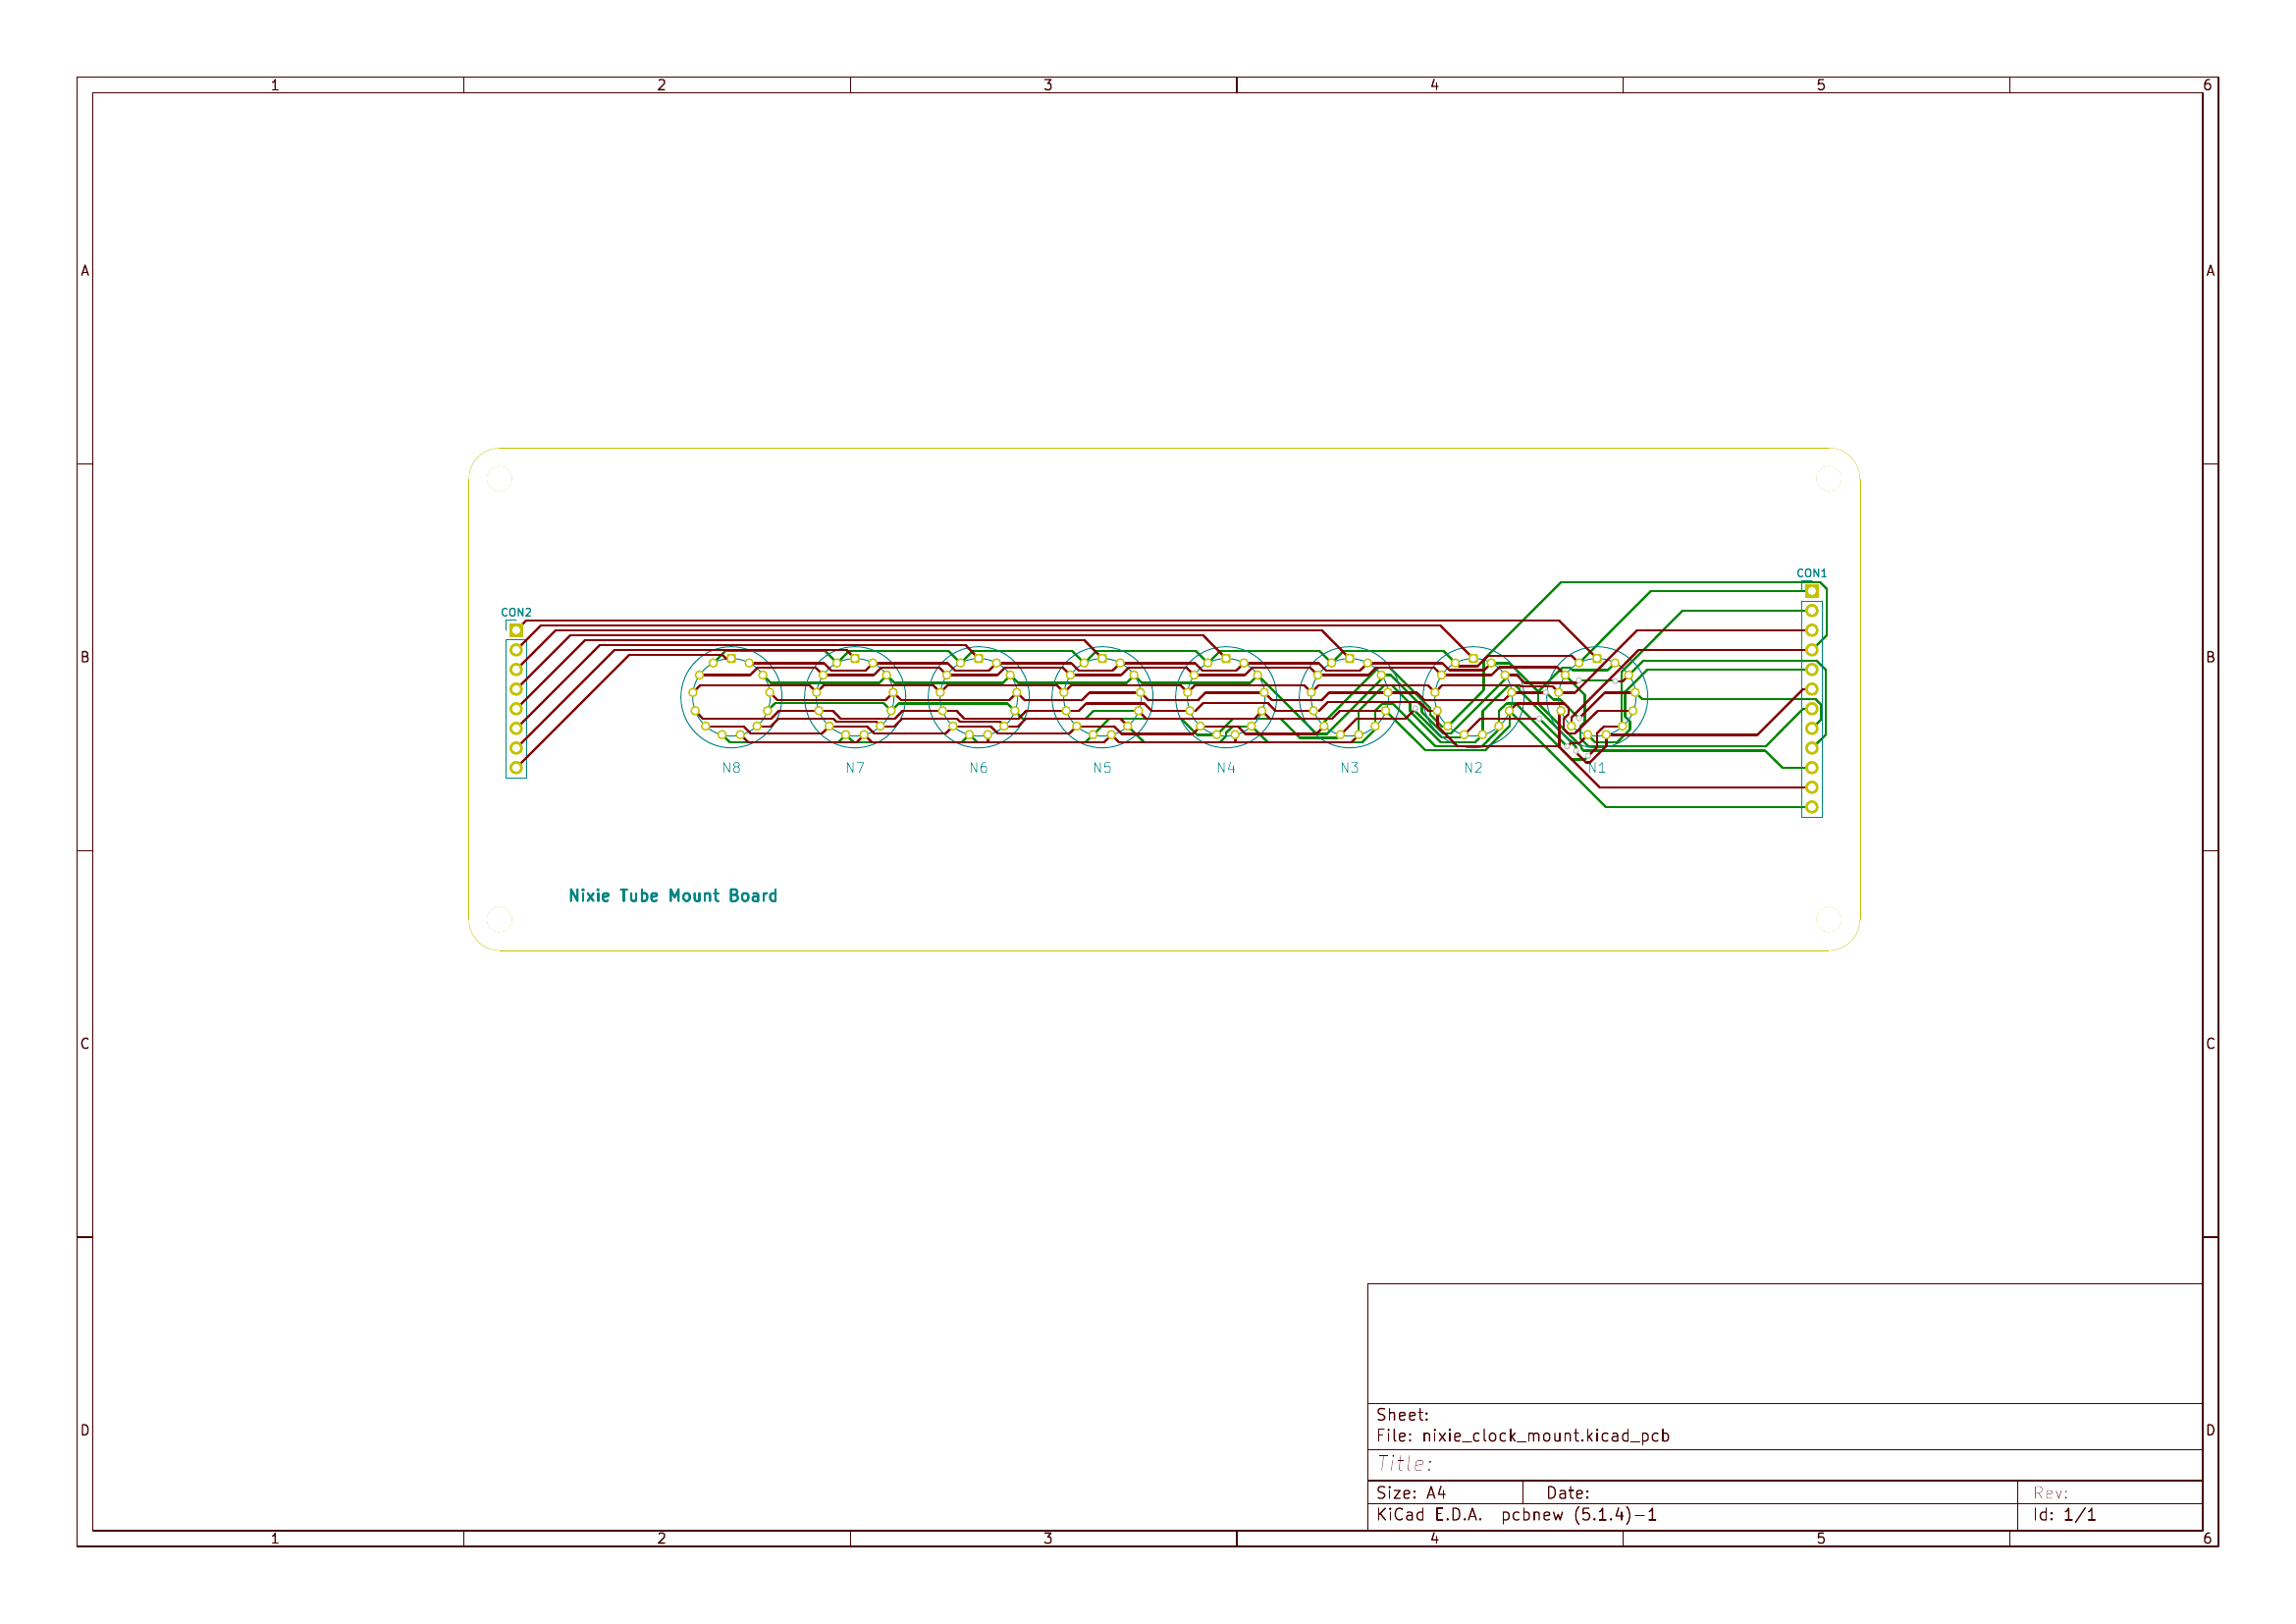
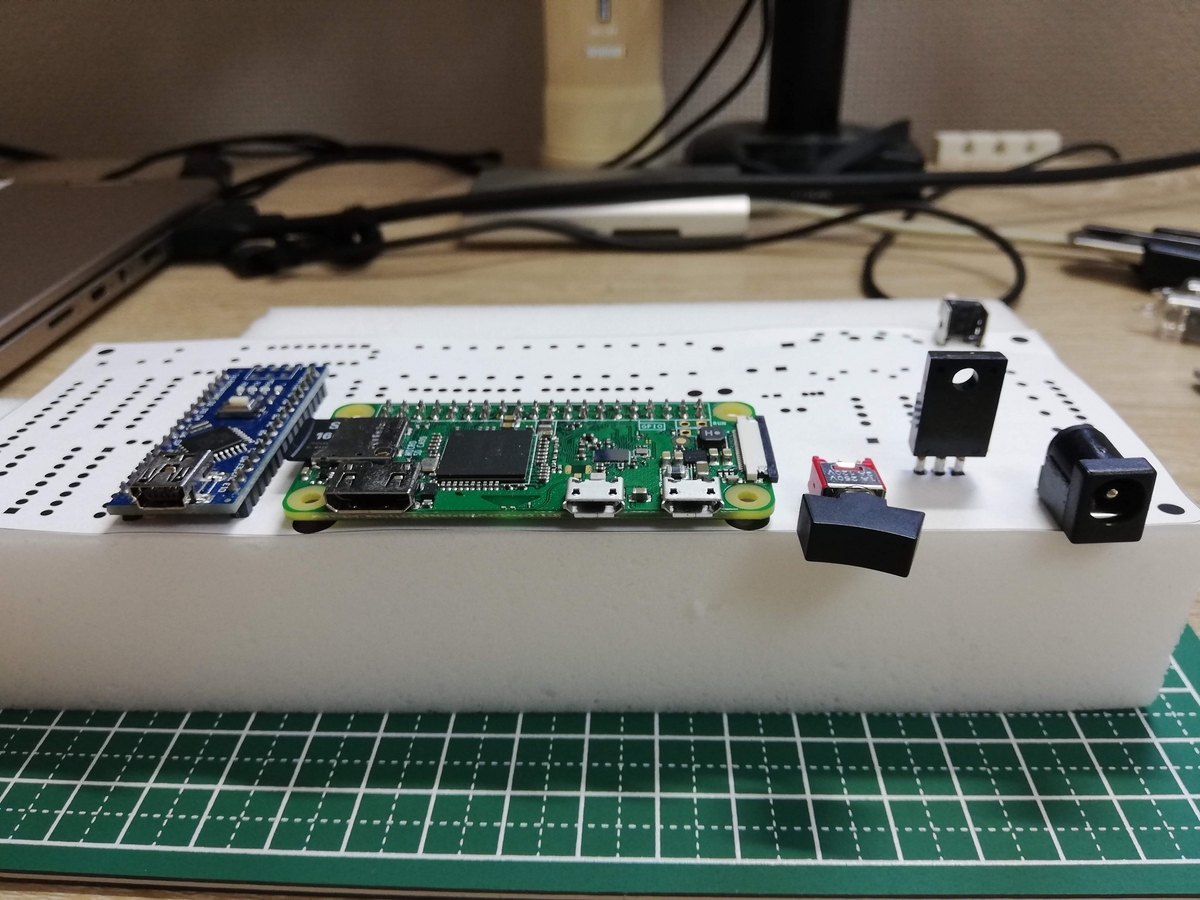 部品が干渉するなどの問題がないかを実際に並べてみた様子。
激落ちくんの上に印刷した紙を貼り付けて確認した。
部品が干渉するなどの問題がないかを実際に並べてみた様子。
激落ちくんの上に印刷した紙を貼り付けて確認した。